I’m going to turn this piece into a bar. Legs will be wrought iron roughly 36’ high. Just applied raw linseed oil such great grain for cherry. The arched aspect of the piece adds to its warm feel.

I’m going to turn this piece into a bar. Legs will be wrought iron roughly 36’ high. Just applied raw linseed oil such great grain for cherry. The arched aspect of the piece adds to its warm feel.
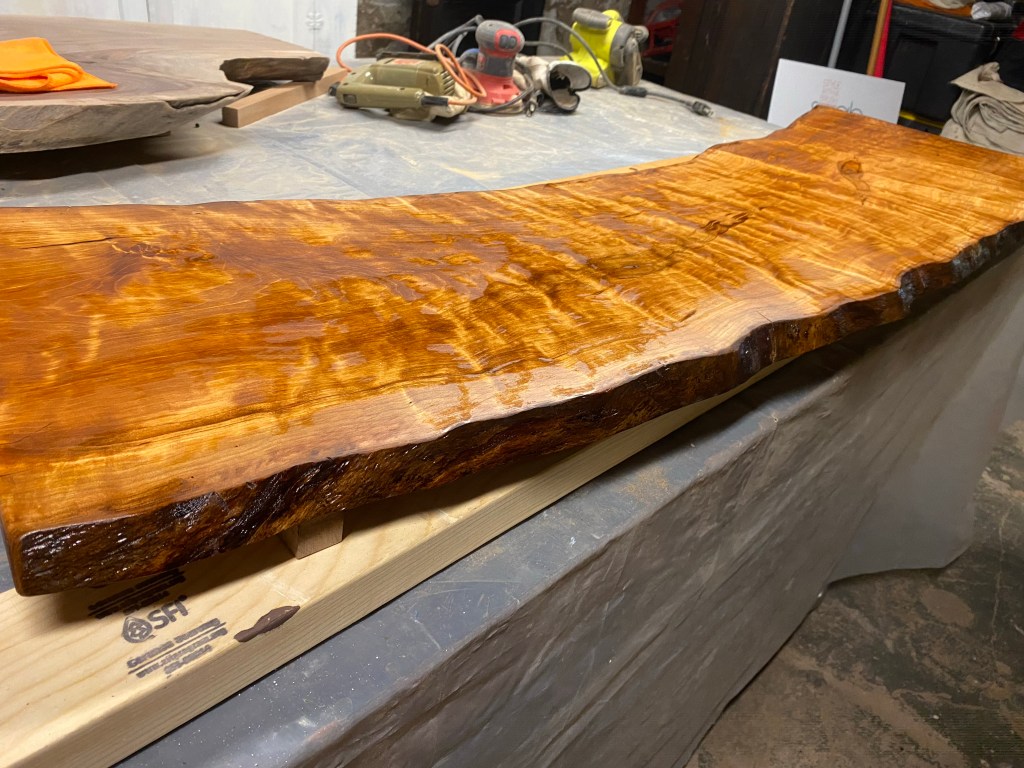
Just started Work on these beautiful live edge pieces. The grain is really starting to come through can’t wait to apply the linseed oil. The black walnut piece is going to be a coffee table and the cherry piece I’m still deciding. The cherry has a unique radius could be a cool bar or headboard. More to come when complete. Any interest let me know.

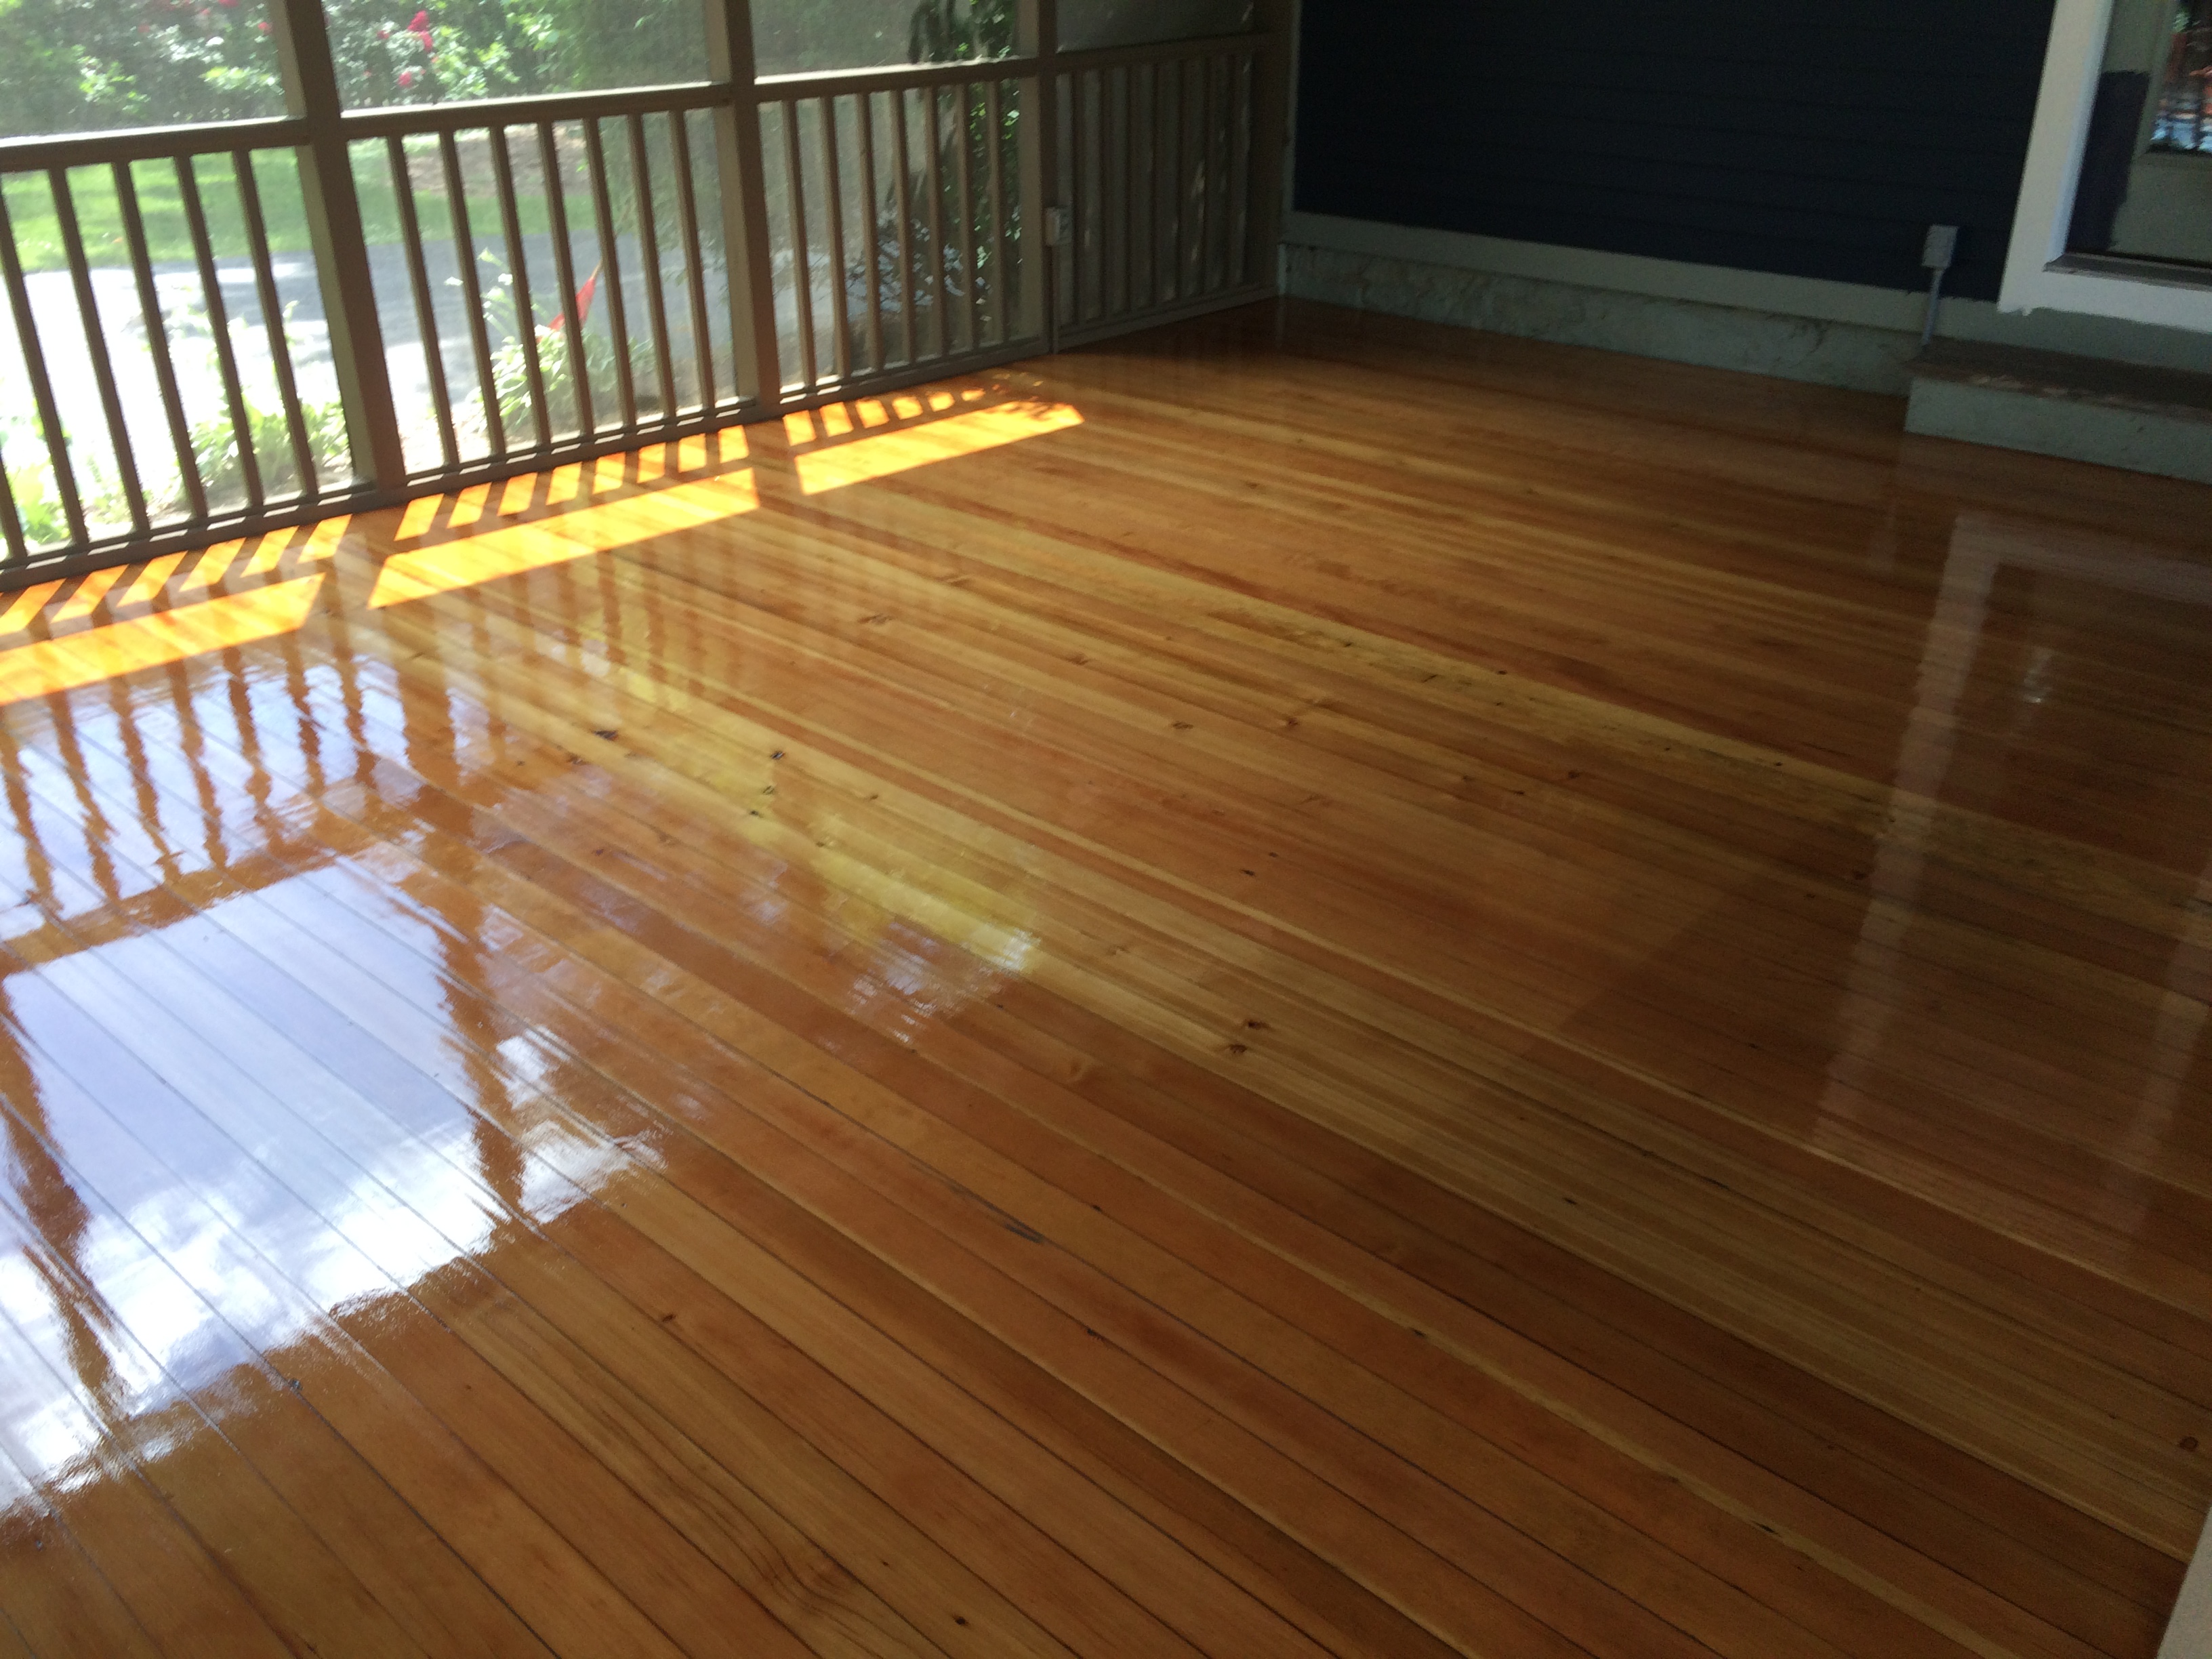
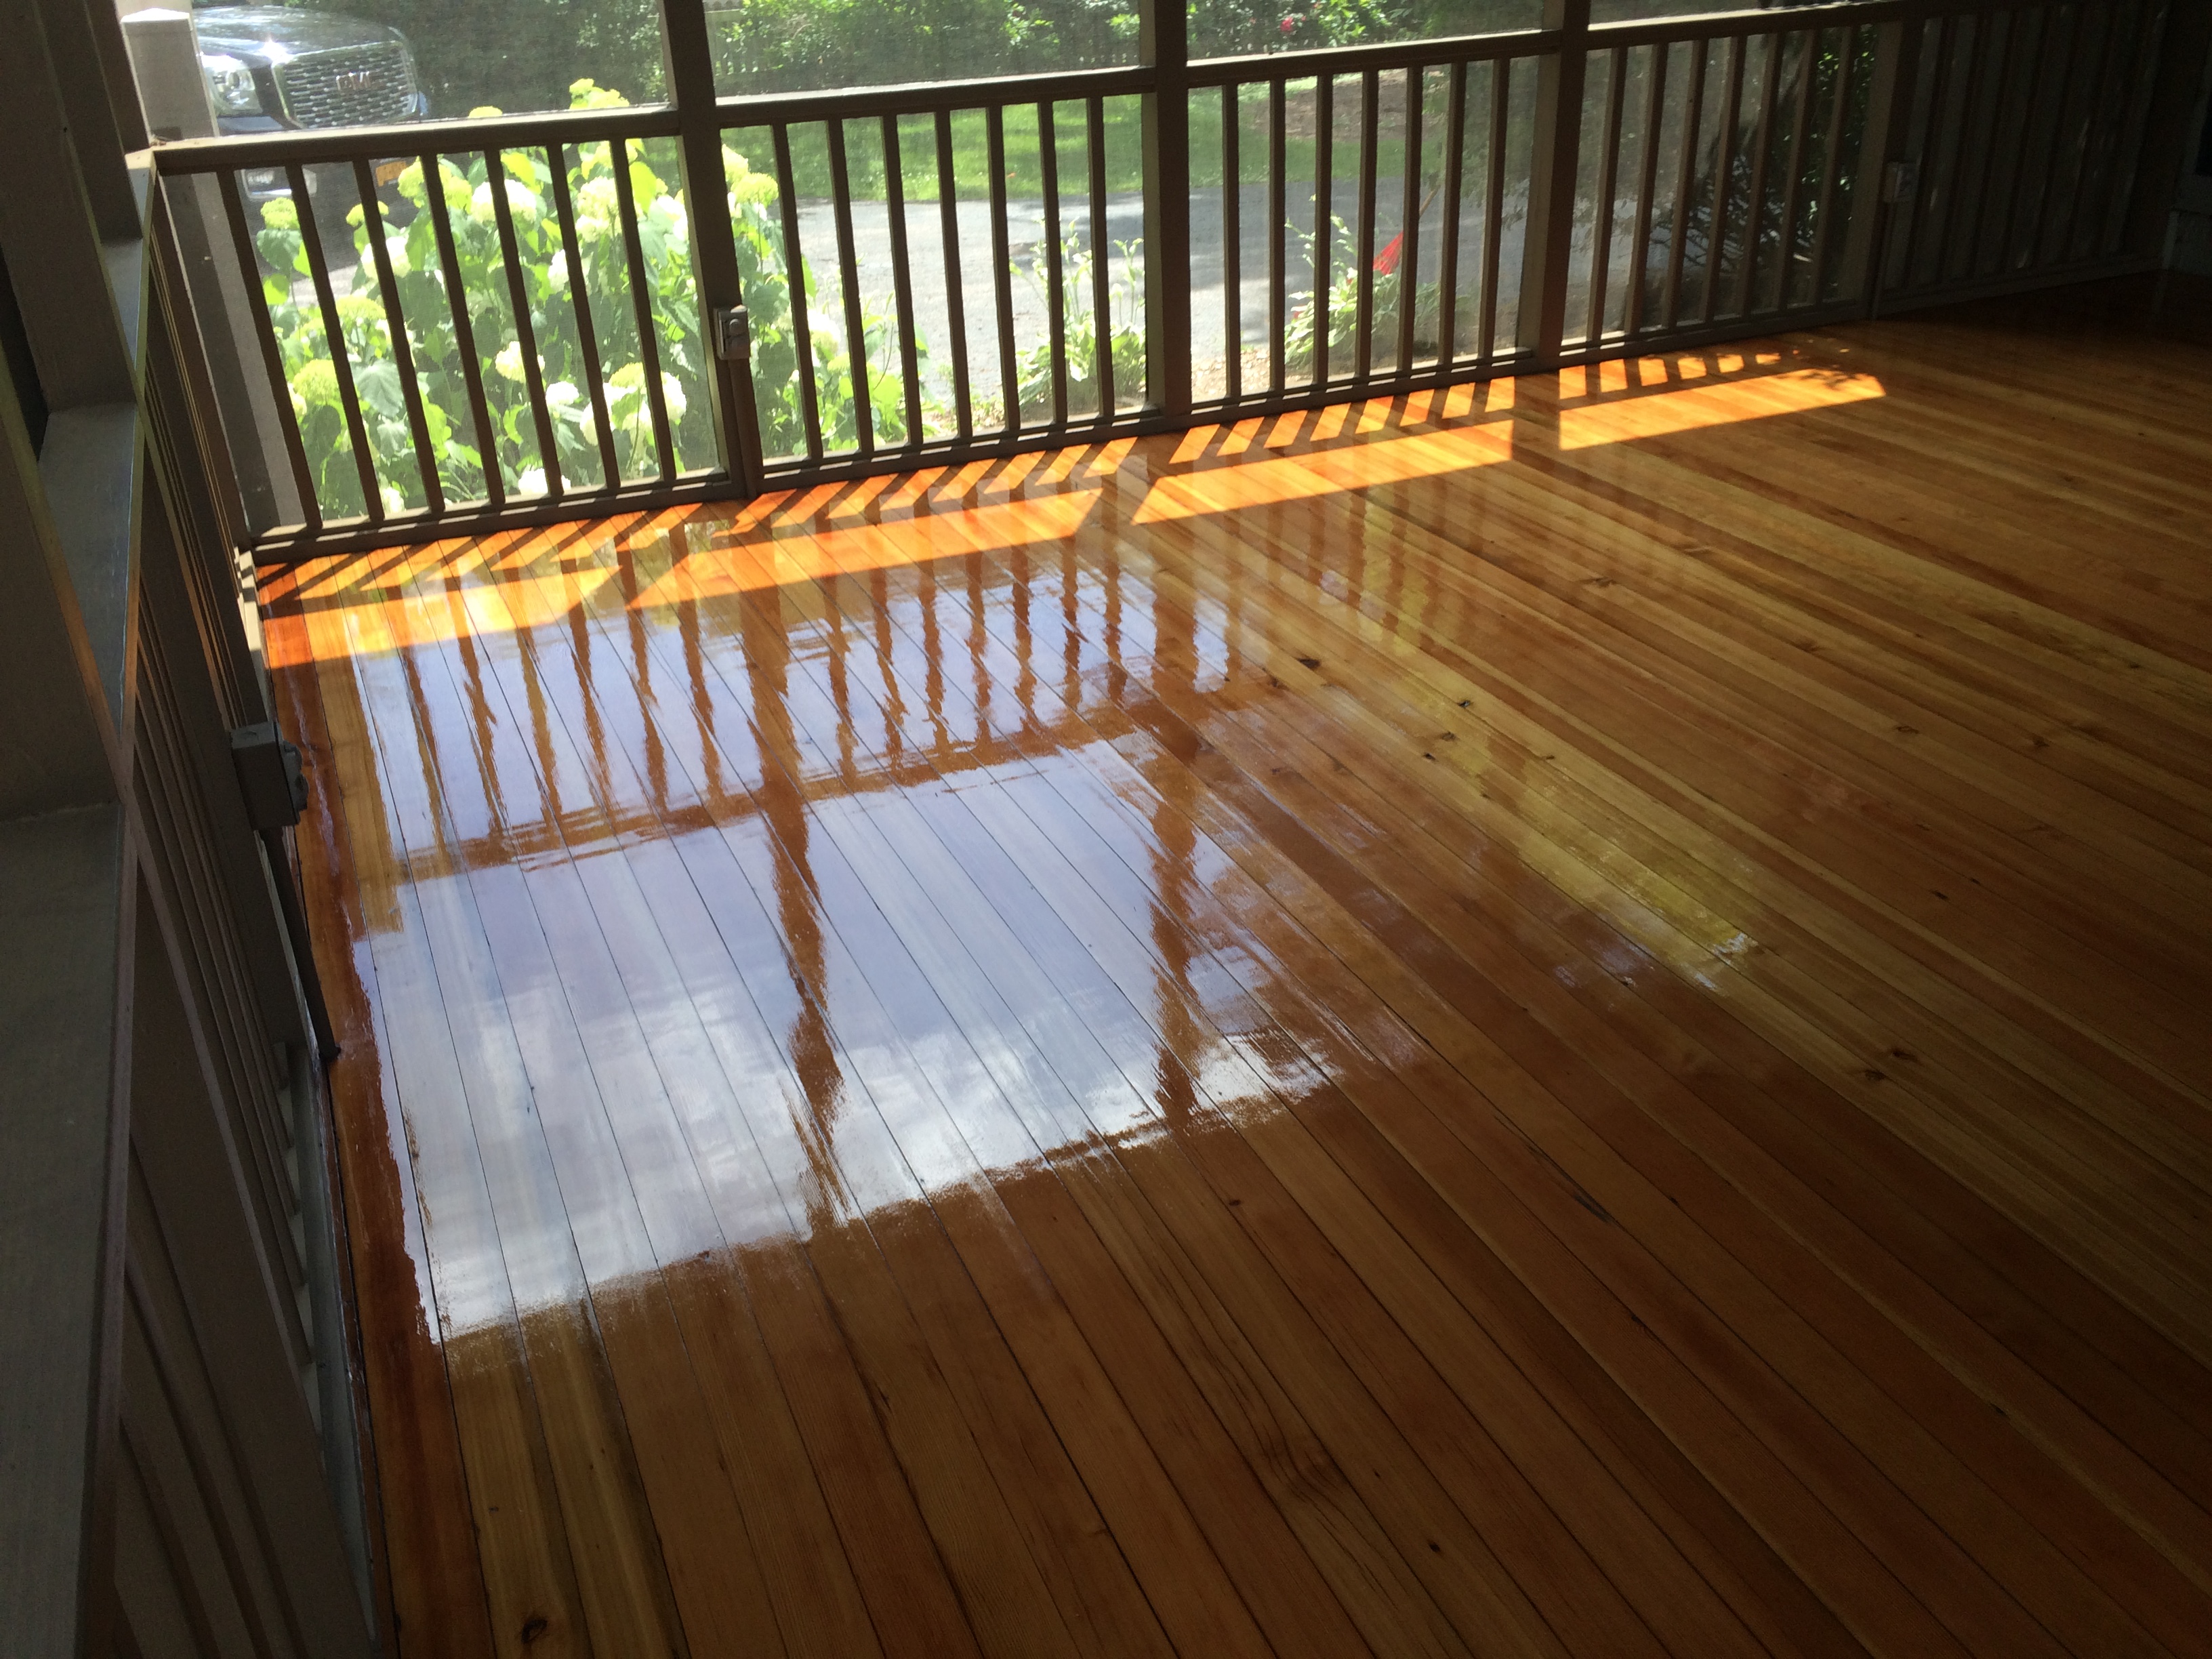
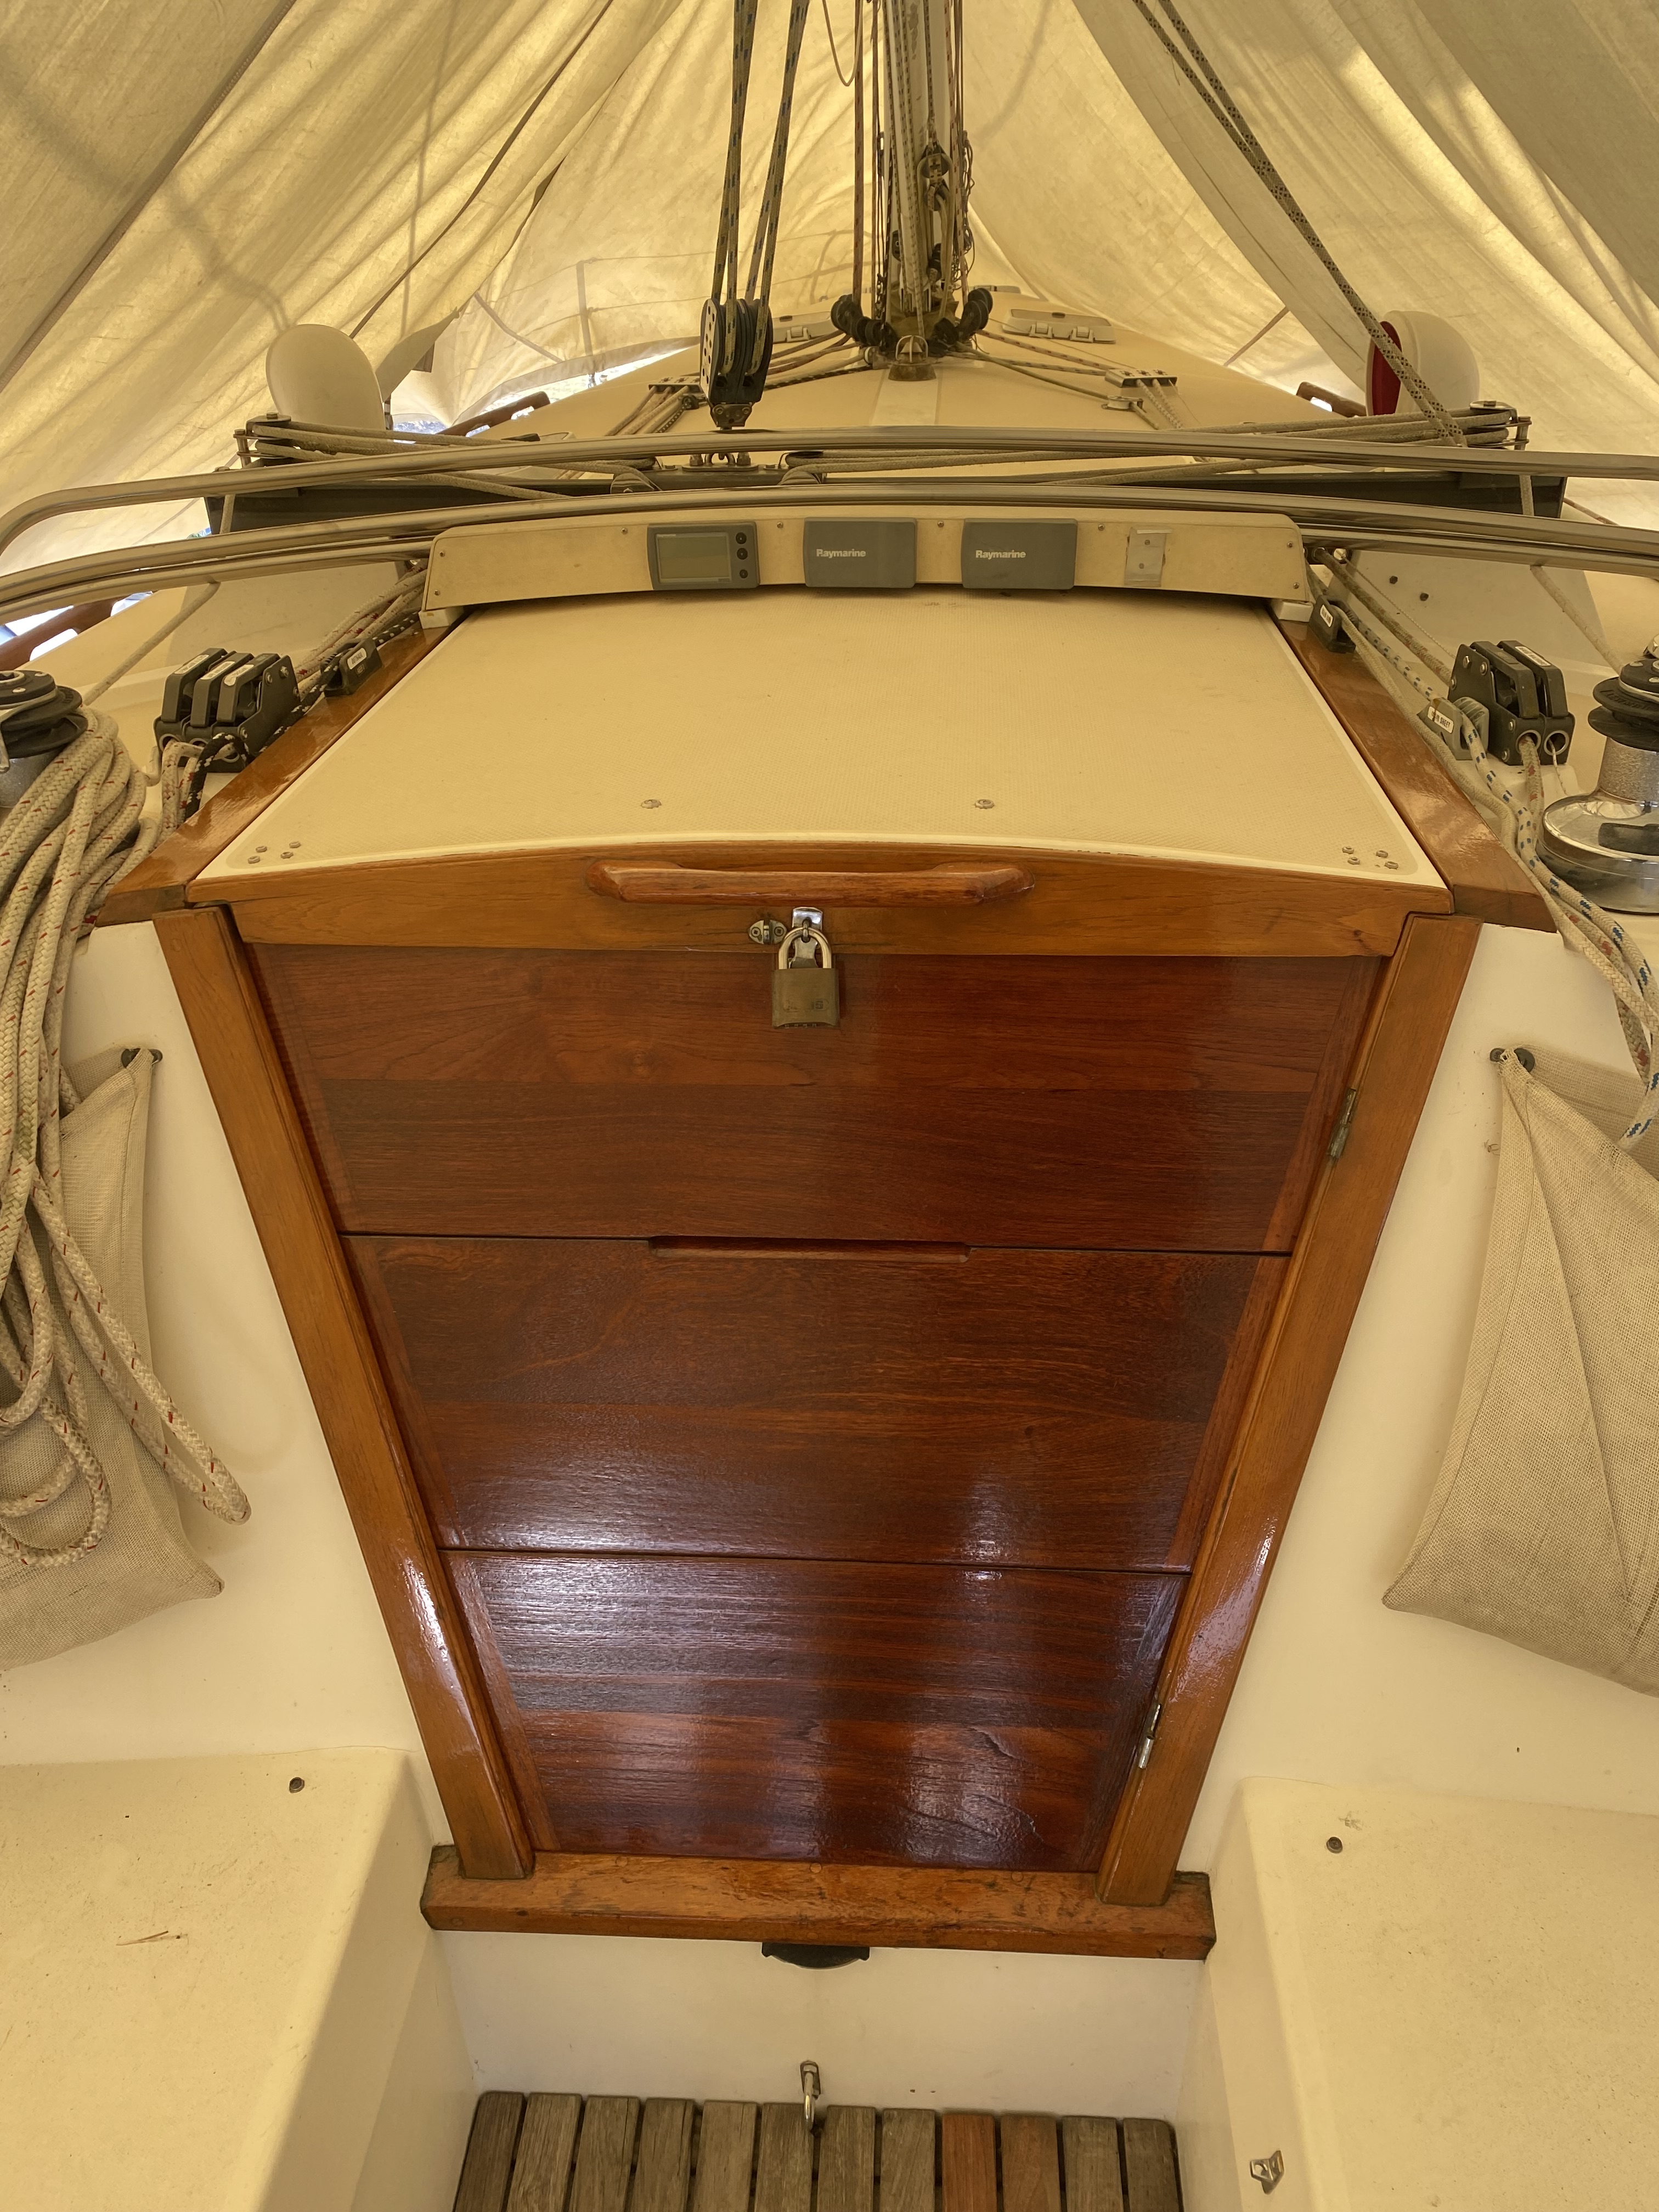
I love this linseed oil varnish its so beautiful and has the potential to last for years with proper maintenance. I’ve been using it for years for home and boat projects. Contact me for your next project you’ll be pleasantly surprised!

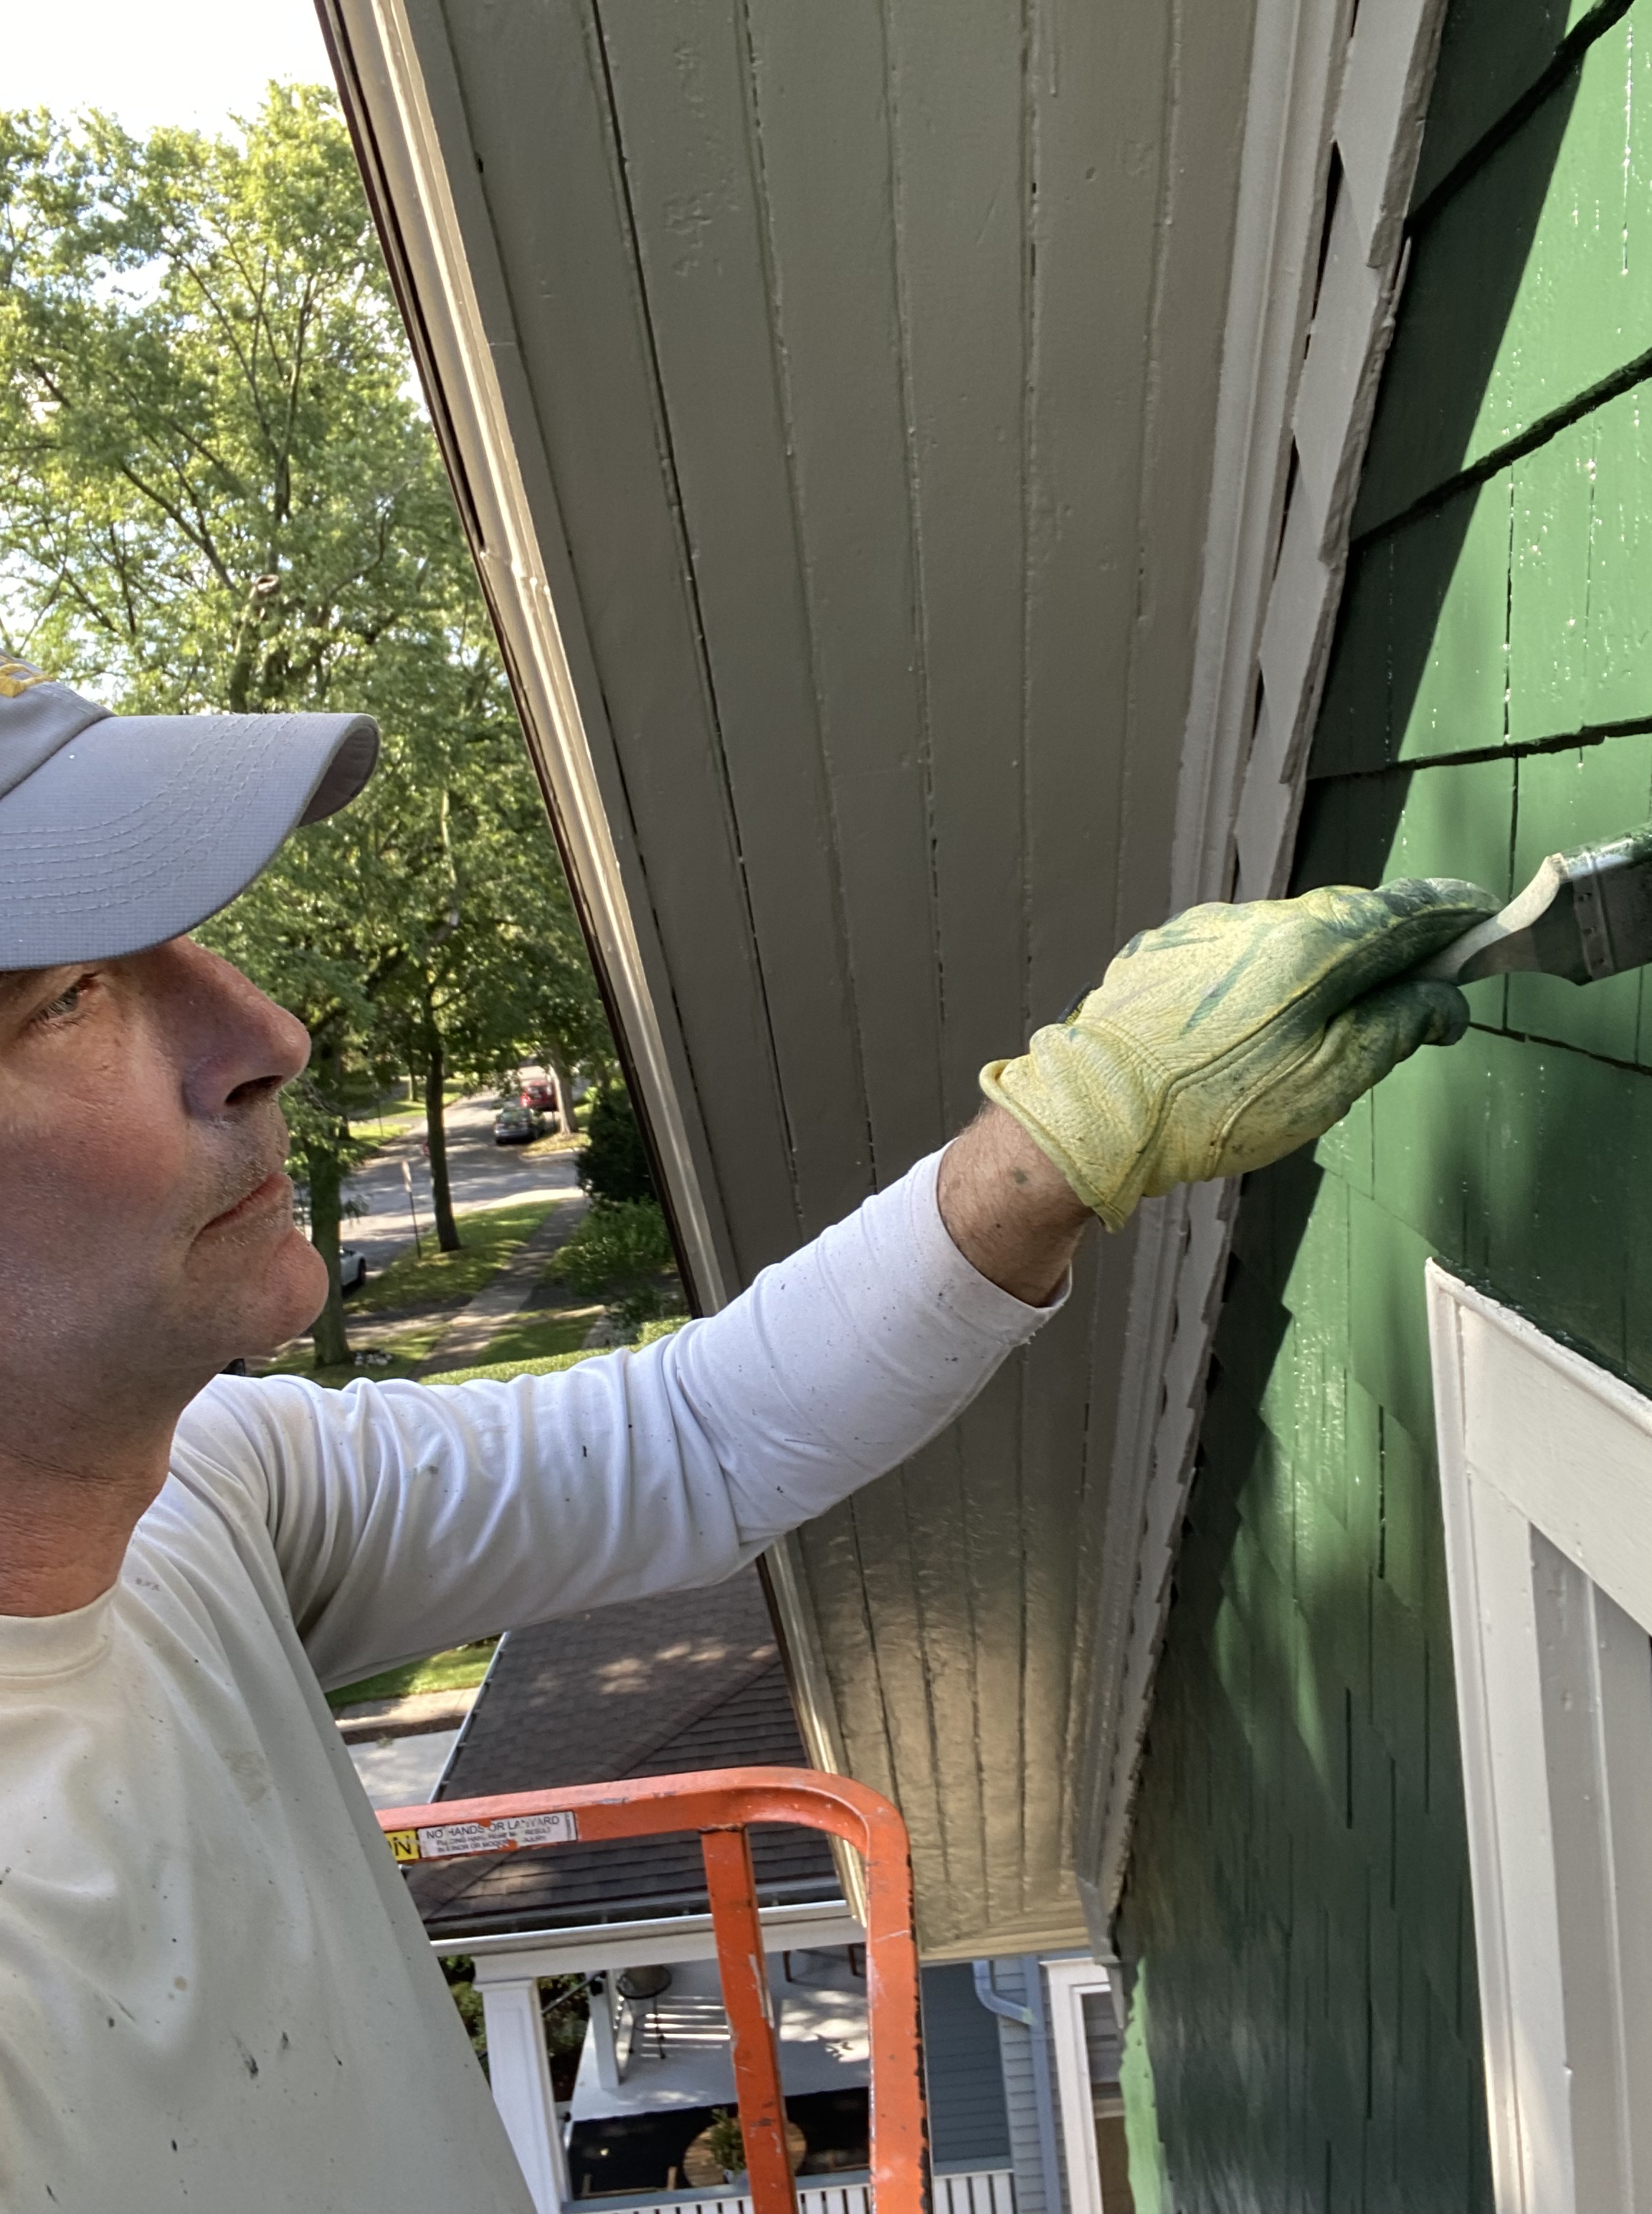
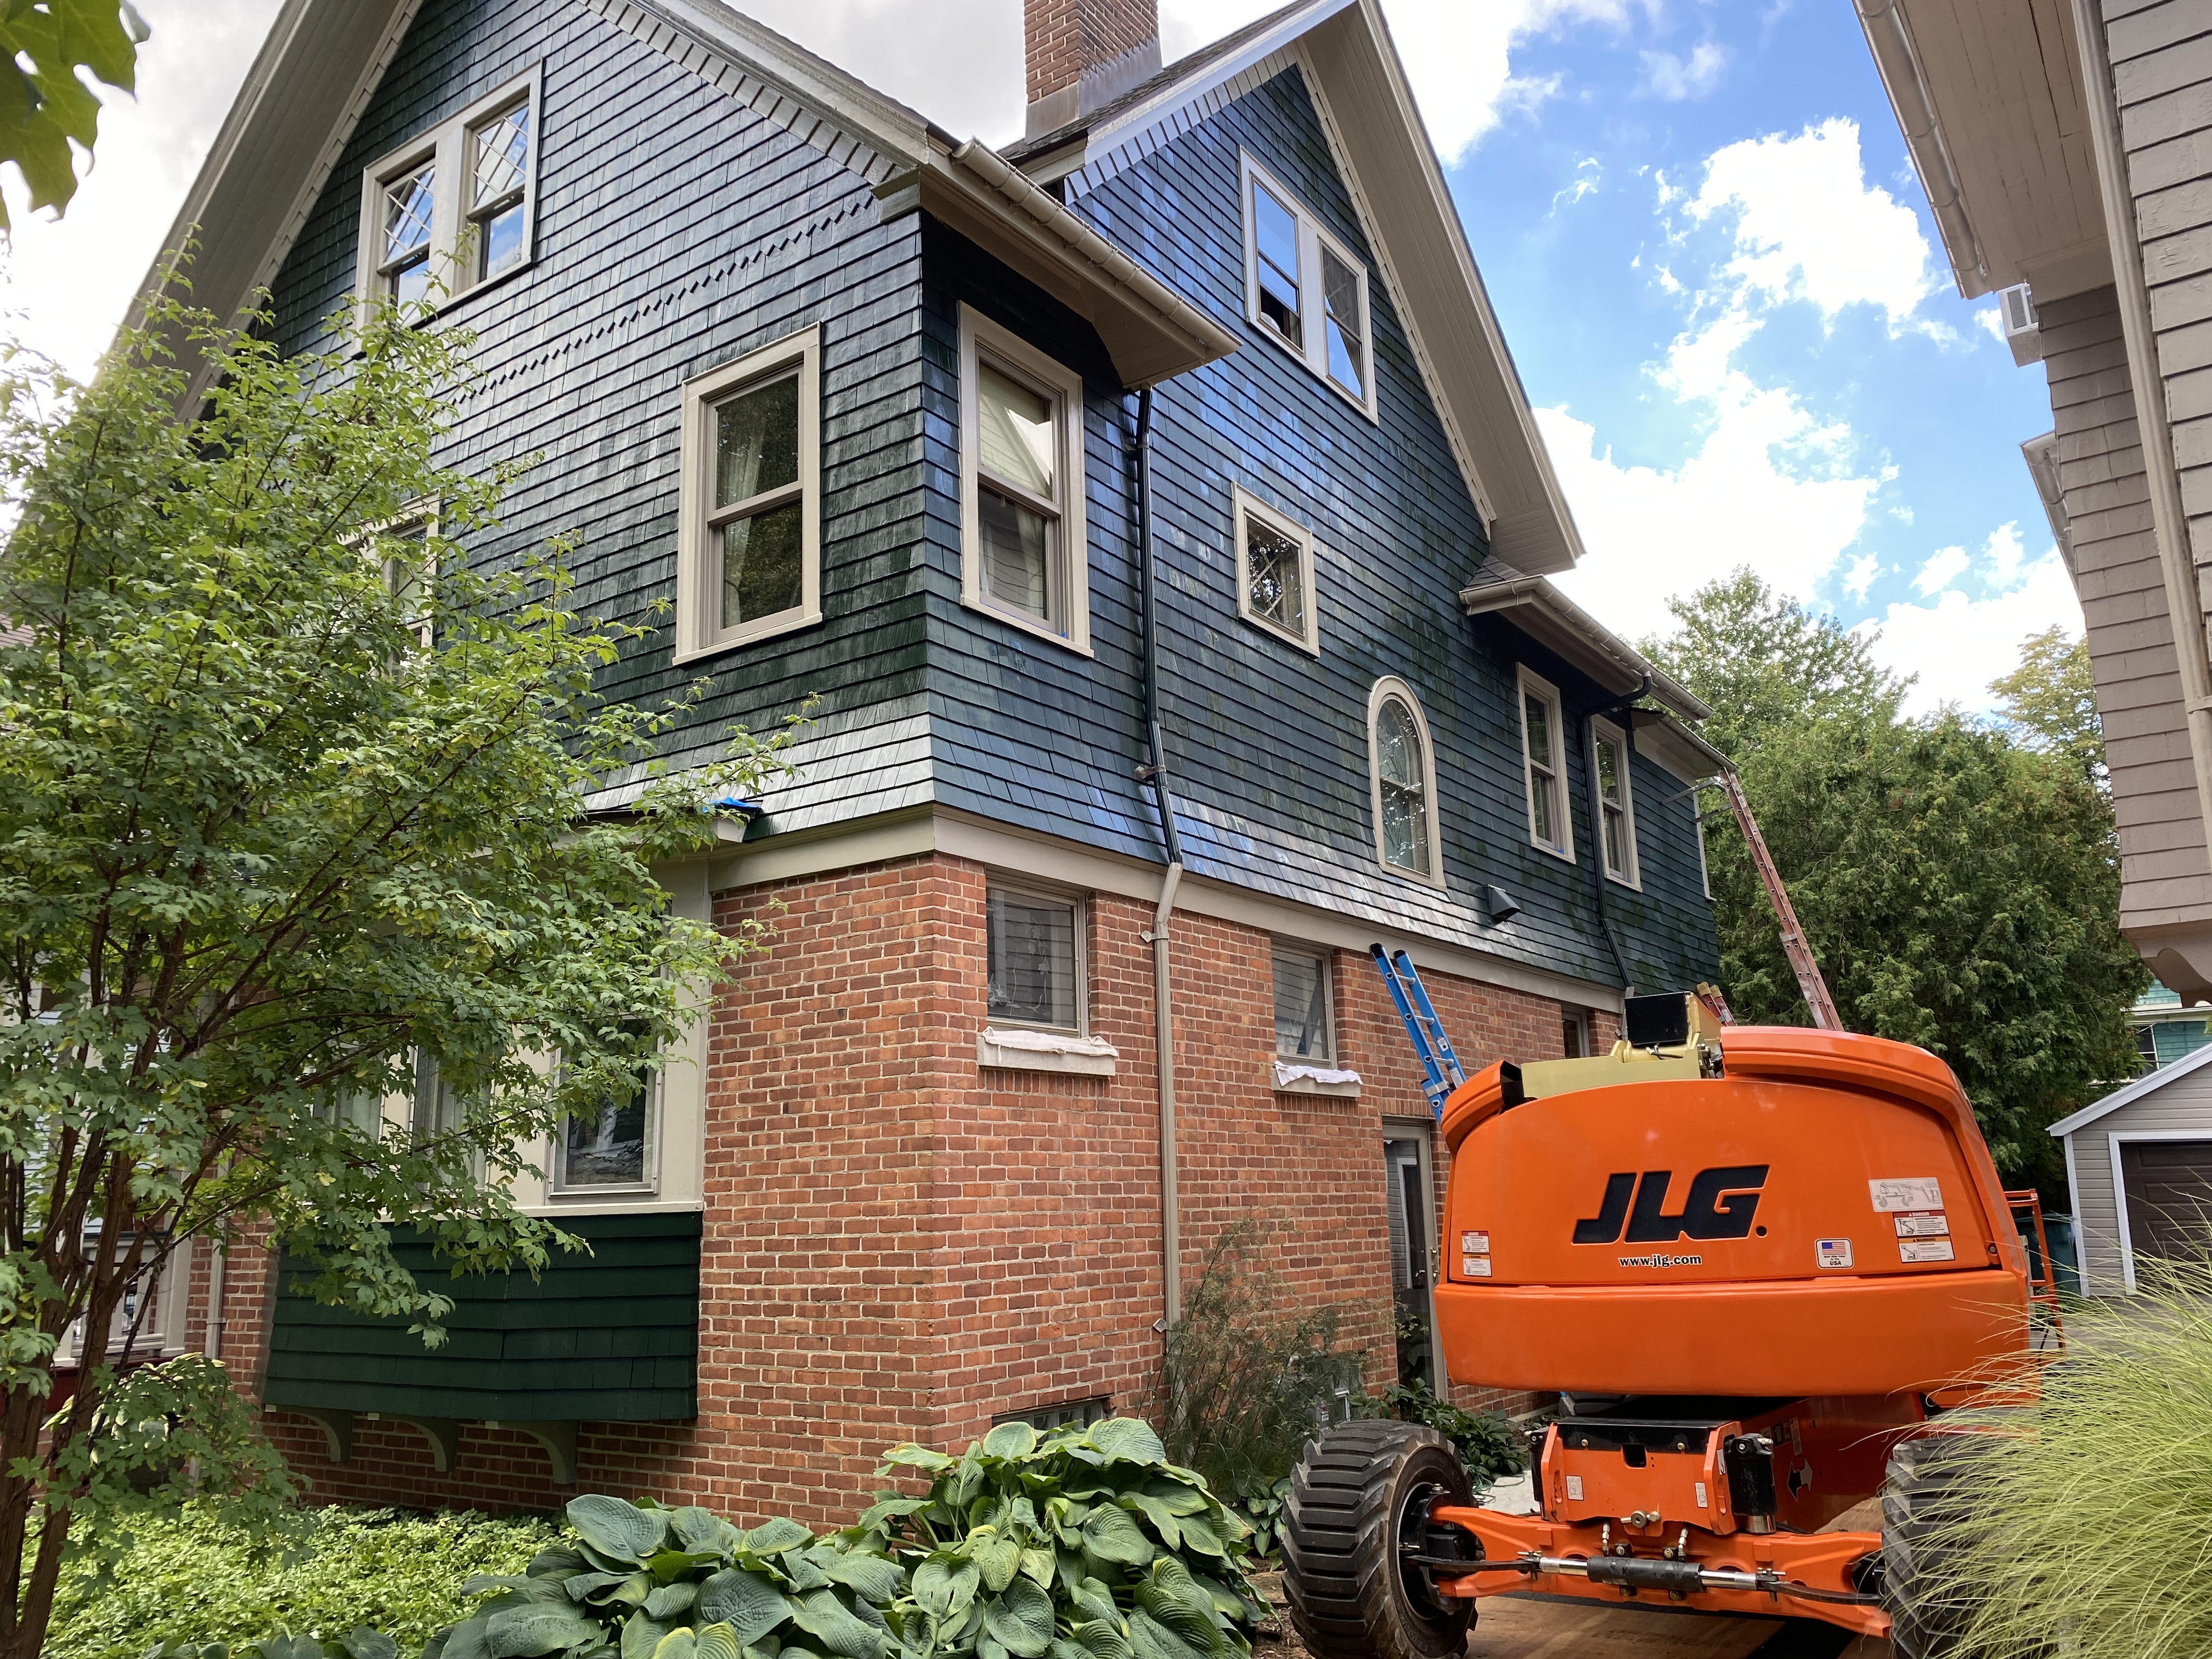
I thought I would Post this beautiful home I painted about two years ago. I love using linseed oil paint it has such a quality look and it’s my feeling will last many years. The paint just wares in to a beautiful patina over time.


Just writing a blog post about my phone being temporarily off for a few days. I expect to be back online soon please contact me through email for all your questions and needs. Thank you, Marc L.
I bought these great old shutters that will work as window screens. To say the least these shutters were in need of a deep clean. Perfect project for the linseed oil soap I make! I have a bucket of hot water to wring the rag out, and I put a small amount of soap in a spray bottle and mix with water. That’s all you need just spritz the surface and wipe clean then wring the rag out and repeat.


Our new kitchen lighting turned out great. I converted our old track lighting to a very cool pendant light. I used an amber led Edison bulb this light has a very warm feel and goes great with our 1905 house.


The photos in this post show a project I’ve been working on over this winter. It’s an old school in Hemlock NY now converted to Little Lakes Community Center. I’ve been tasked with restoring all the windows, window frames and doors. This batch of photos shows the weathered windows being worked on step by step to the point of being painted. A prior post shows the painting and glazing steps. This project is a great example of much needed maintenance and how it can be done using linseed oil products. If this was a total restoration all the glass would be removed and reset. This project is repairing the window utilizing the old glazing where still viable.


Just a short video showing my shop where I’m currently rehabilitating wooden windows for a old school in Hemlock NY.
When you use linseed oil paint on windows you are rehabilitating you should paint onto the glass past the new linseed oil putty. This ensures a good seal of the newly repaired window. This short video shows how I clean up that line of paint to the glass. Hold a long scraper to the new glazing and tight to glass. Take a razor blade held horizontal to scraper and slide down glass using scraper as a fence. This creates a perfect line of paint to glass for a professional look.
